
Editing an Image like NKB Photo
Photo - check
Photo Mechanic- check
Lightroom - check
Patience - check
Happiness - check
Ok now that we have that out of the way, let’s get to it!
For all my sessions, I first load them into Photo Mechanic, a software that optimizes images and reduces upload time.
Once the images are all in PM, I will cull the photos - choosing the keepers. No need to edit ones that I will ‘throw out’ later. If you’ve been in front of my camera, you hear me click 2 or 3 times per image - sometimes you blink and I want to make sure I got it JUST RIGHT!
After culling all the images, I load them up into Lightroom and get to work. Usually I work my way down the sliders - in camera I always underexpose so that I can grab ALL THE DETAILS and then lighten the images later. Sometimes I want the photo to be bright, but if there is a ton of white detail, I will lose some of it. I will then reduce the highlights and bring back some shadows if I can. This is usually when a do a white balance check. If by overexposing my image, it brings in more yellow or blue, I will play with the WB slider and then offset it with the tint slider (green or magenta). Usually if you have skin tones you will need to add back in the magentas. There is also a panel called HSL - I use this to hone into specific tones - most specifically red, orange, yellow, and green. Skin tones and environment. I rarely use the blues and purples unless we have some nice chambray or denim :)
This is a pretty good starting place if you are just starting out - I have created presets now that help me cut down on editing time, but there are always hand edits and spot removals to be made. One thing I try to do is keep a journalistic policy around editing, enhance the photo but never alter the photo to depict something that wasn’t there or change the scene. To me, authenticity is super important when documenting memories.
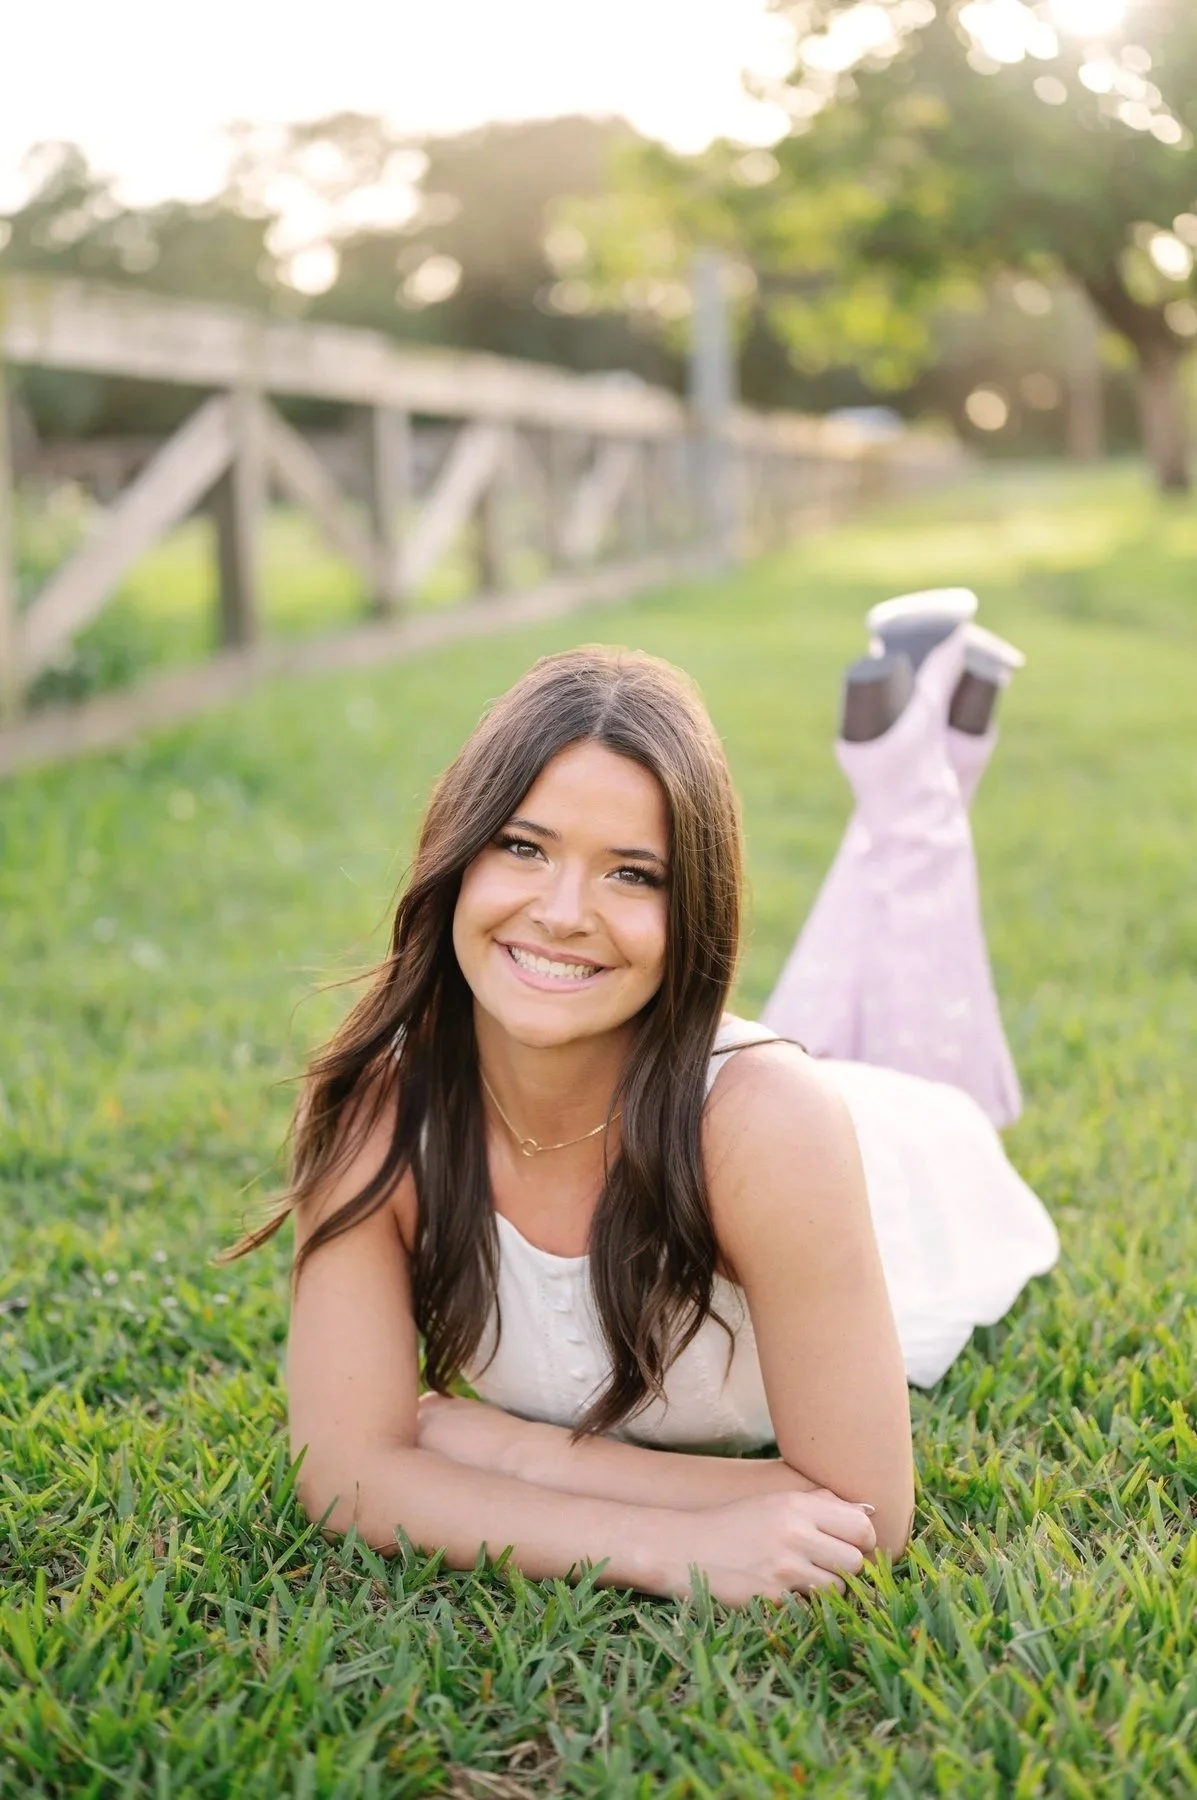
And now, the before and after:
BEFORE
AFTER
What do you think? Pretty neat huh?
-NKB


If you’re pregnant in South Florida this summer, you’ve probably wondered the same thing every mom-to-be around here wonders: can I even take maternity photos when it’s 92 degrees and a thunderstorm is rolling in by 2 PM? Some of my very favorite maternity images have actually come from these exact months, you just need to know your options.